Openfire Source Code in Visual Studio Code
Introduction
This is a short tutorial on how to load the Openfire source code in the Visual Studio Code IDE.
This guide provides detailed information for developers that wish to make changes, compile and run the Openfire source code by using Visual Studio Code IDE.
For additional developer resources please visit: https://www.igniterealtime.org. The Openfire build process is based on Apache Maven. Visit the Maven website for more information.
Visual Studio Code or VS Code is a fast editor and ships with great editing features. It includes support for debugging, embedded Git control, syntax highlighting, intelligent code completion, snippets and code refactoring. In part thanks to the huge ecosystem of extensions that enhance and enrich the experience in VS Code, turning it into a super smart text editor, fast and lightweight. This guide focuses on the bare minimum that is needed to get started Openfire source code with VS Code.
Topics that are covered in this document:
Prepare your environment
The rest of this guide will assume you have at least those parts installed:
- JAVA Development Kit (version 17)
Java 17 (JDK 17) must be installed and setup on your machine. To test the installation, open a shell in a Unix or a MS-DOS prompt in Windows. Check your version of Java with "java -version" -- it must be version 17 or greater. If Java isn't installed, download a copy from the Java website.
Important! -- the Openfire build tool needs to know where Java is installed on your system. You must configure the "JAVA_HOME" environment variable to point to the correct directory.
- Maven
The Openfire build process uses Maven, so that tool must be installed and configured on your computer. First download Maven from: https://maven.apache.org. Next, follow the usage instructions.
- Copy of the Openfire source code available locally
You can get the Openfire source code by downloading (clonning) a source code on the Ignite Realtime GitHub Repository. Source Code.
- Visual Studio Code
You just need to head to this webpage dedicated to downloads of Visual Studio Code and choose the package that matches your needs and requirements. After downloading it installation will take just a minute.
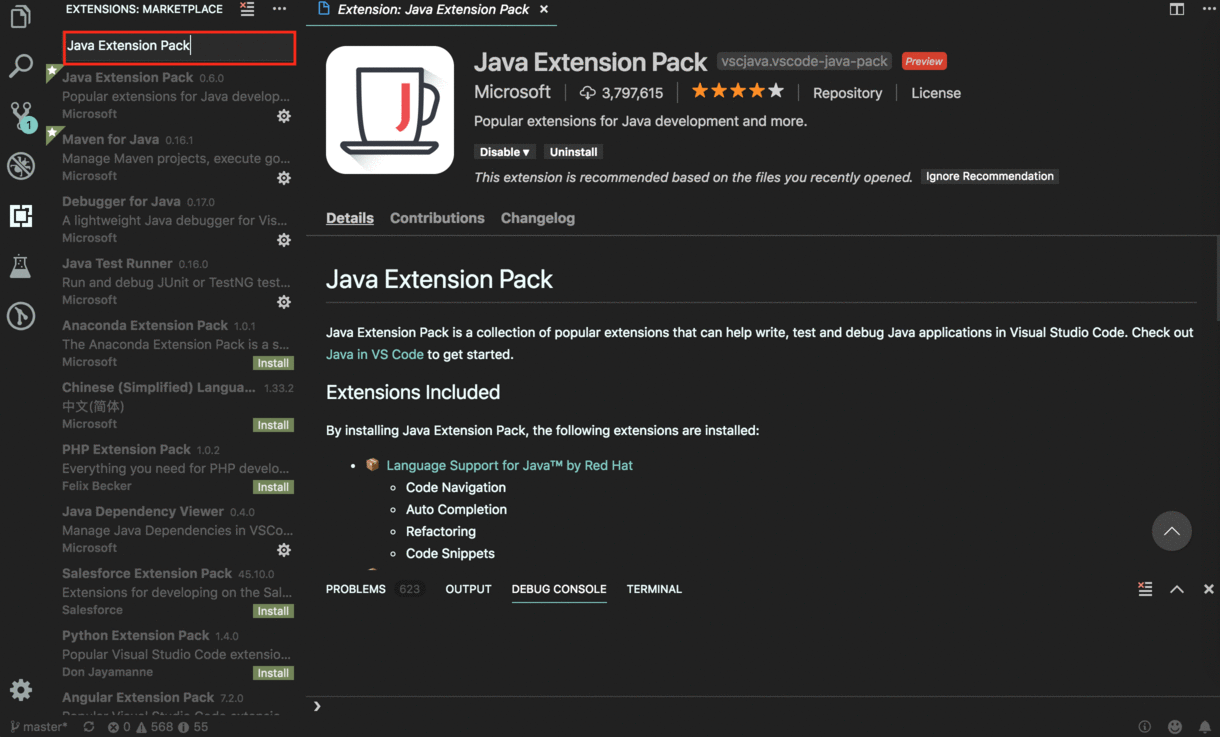
Start by Adding Java language support to VS Code by installing the popular minimum requirement Java extensions. There is a Java Extension Pack, which contains the most popular extensions for most Java developers:
Launch your VS Code and bring up extensions view by clicking on the Extensions icon in the Activity Bar on the left side of VS Code or View > Extensions then write the name of extension Java Extension Pack and then click on install link to install all extensions for Pack.
Open the source code folder
The Openfire source code is using an Apache Maven project structure. As VS Code (with Maven Extension) recognizes this structure, opening the source code into an VS Code project is very easy.
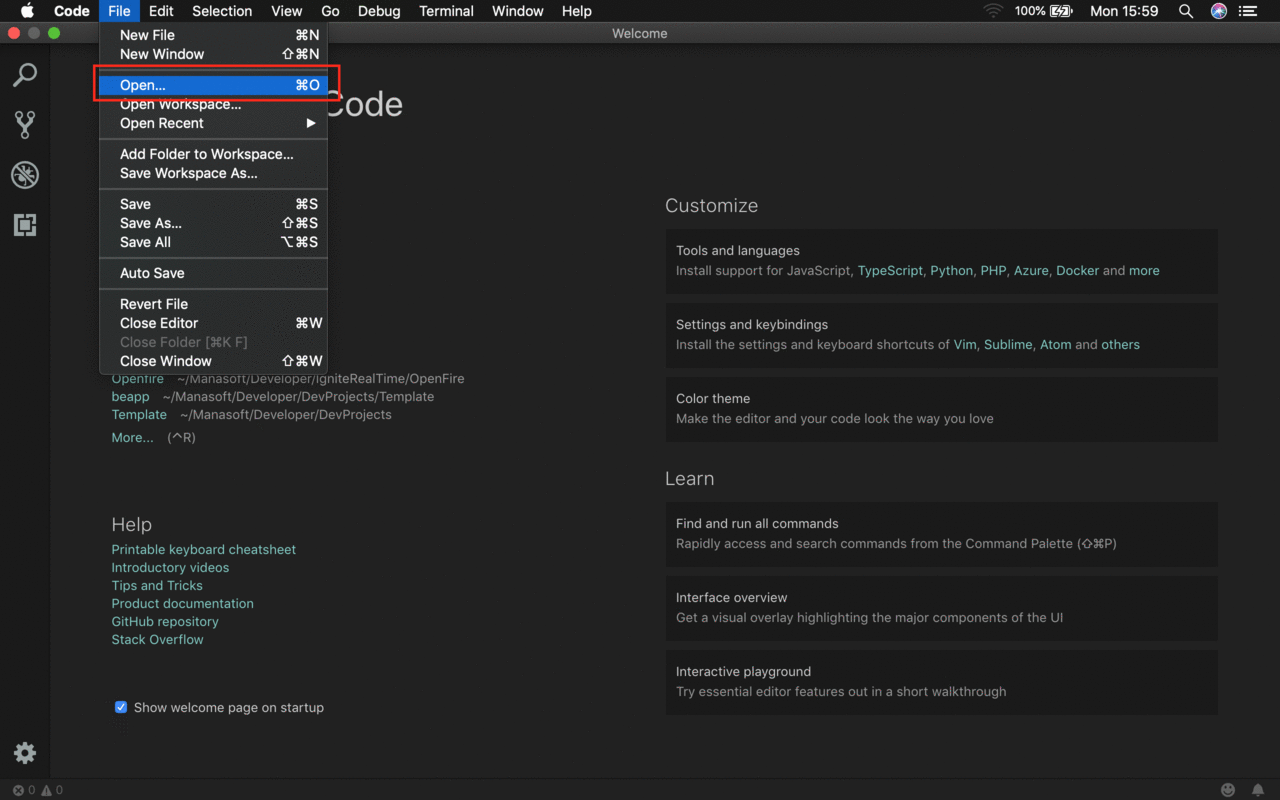
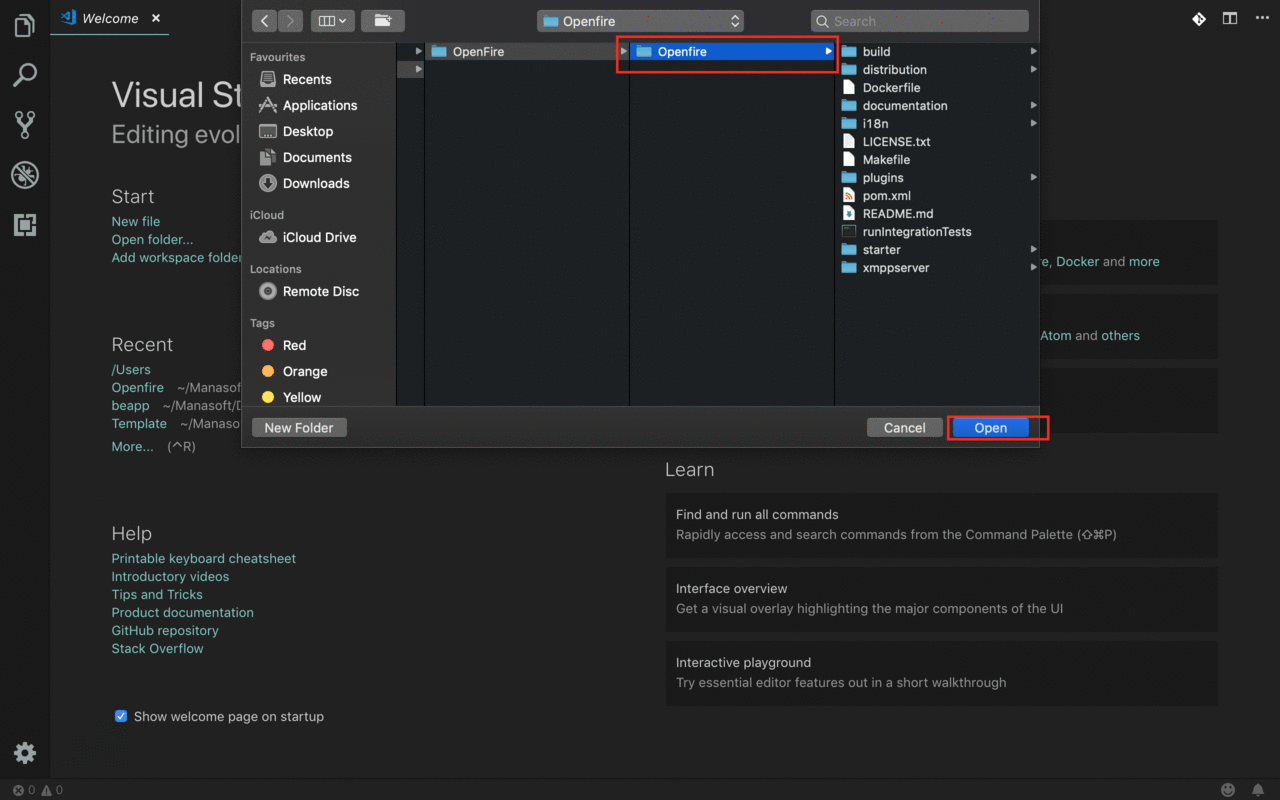
Select the 'Open' option -- File > Open and choose your Openfire source code folder then click on the open button. This will quickly import the Openfire source code into VS Code .
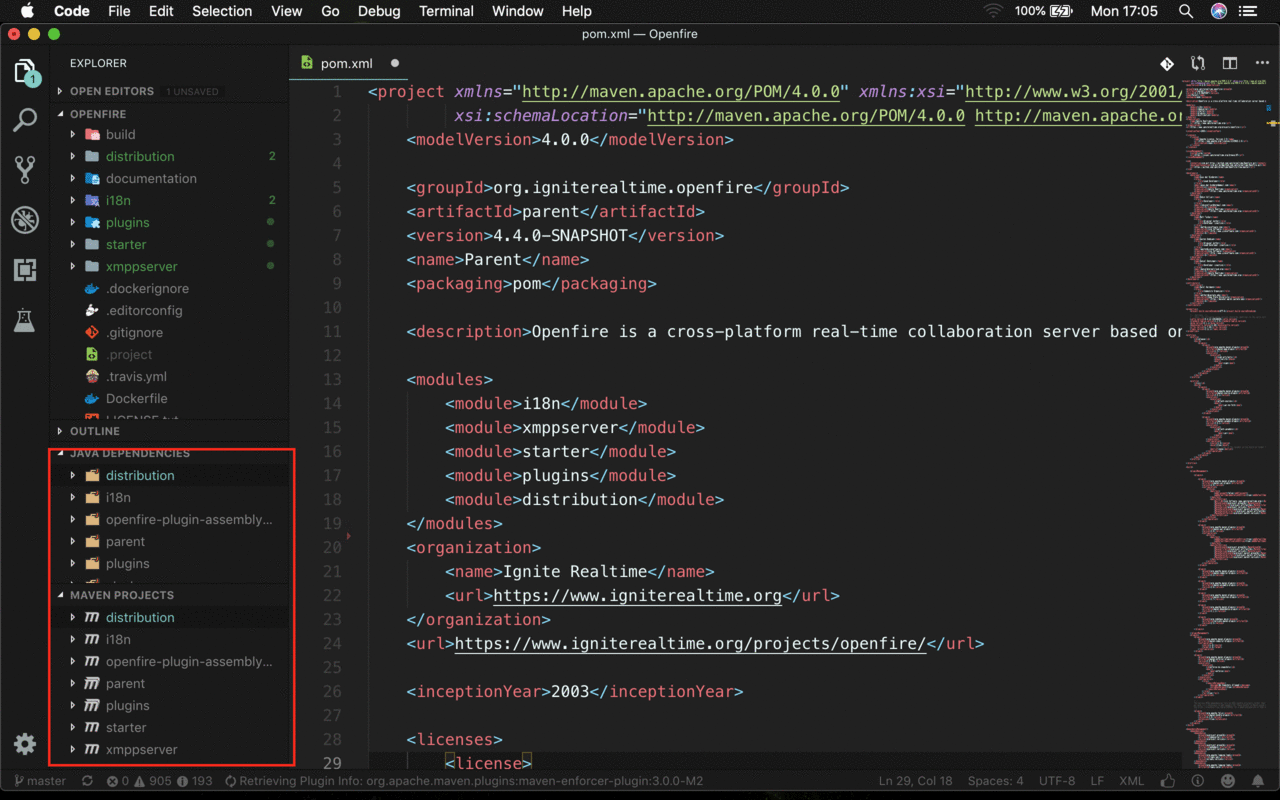
VS Code will automatically recognize and process the Maven structure of Openfire (pom.xml file) and it will automatically download all dependencies.
Build Openfire from VS Code
The following instructions will explain how you can build Openfire from the code that is in the VS Code workspace.
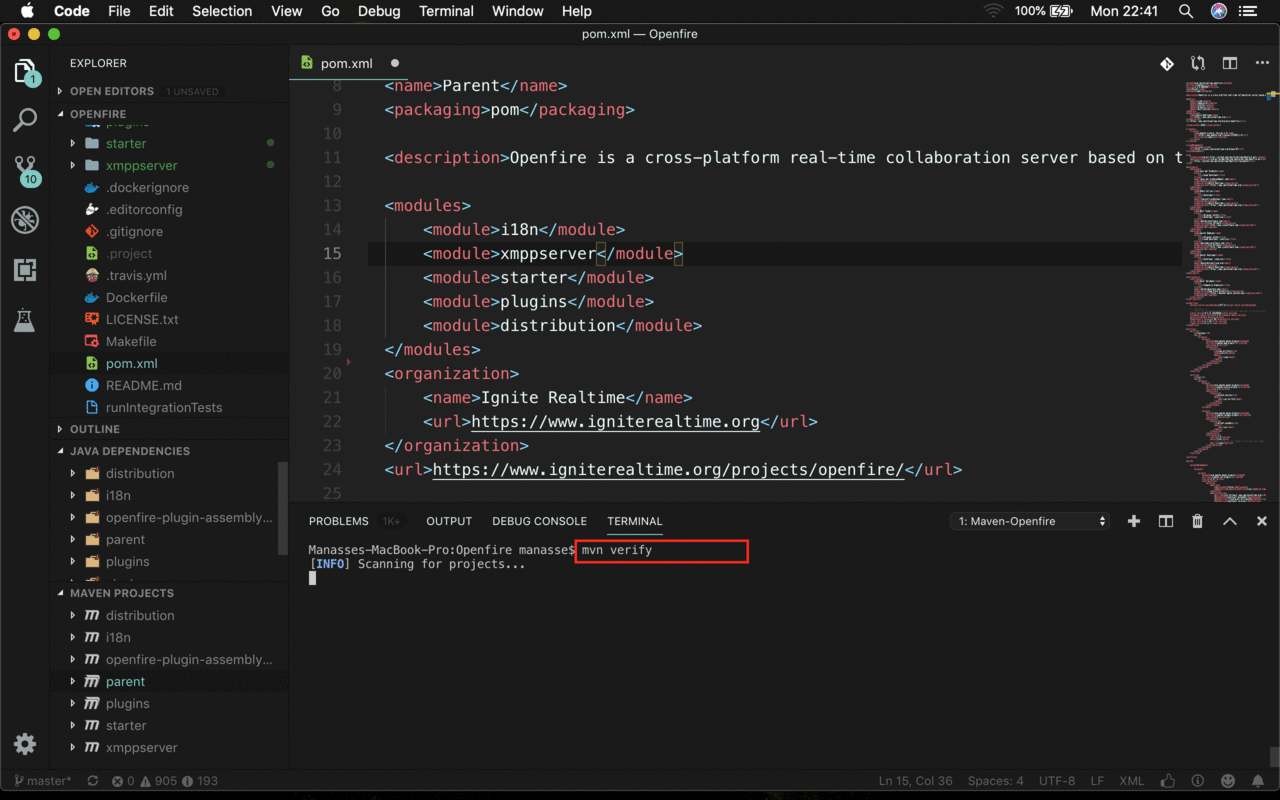
Select the 'New Terminal' option -- Terminal > New Terminal to open a terminal and run the command bellow to build the complete project including plugins:
./mvnw clean verify
Important! -- clean part in maven command will delete current Openfire configuration.
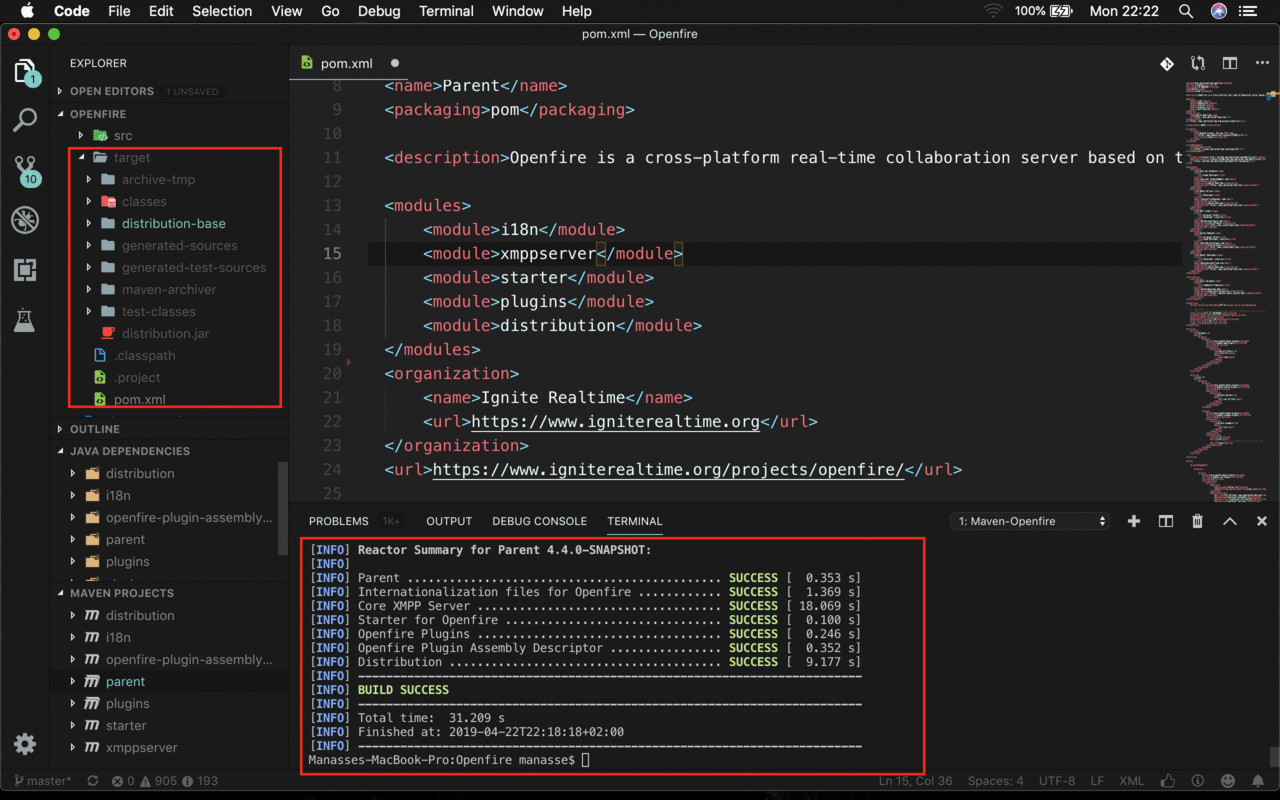
This will quickly build Openfire (compile and run all unit tests) and create a distributable package
in the distribution/target/ folder.

Run Openfire from VS Code
When developing, it is often also useful to run the code straight from your IDE.
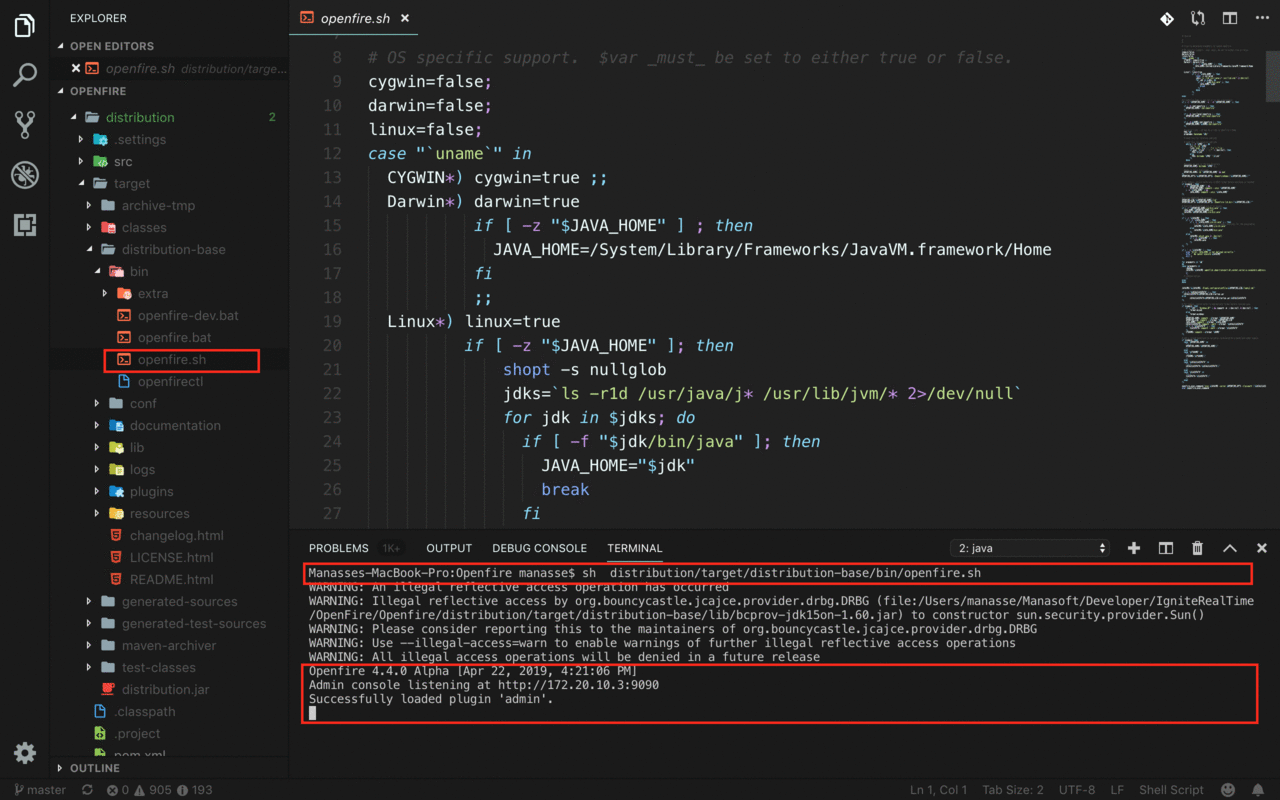
You can launch Openfire using the scripts in distribution/target/distribution-base/bin using the terminal in VS Code.
sh distribution/target/distribution-base/bin/openfire.sh
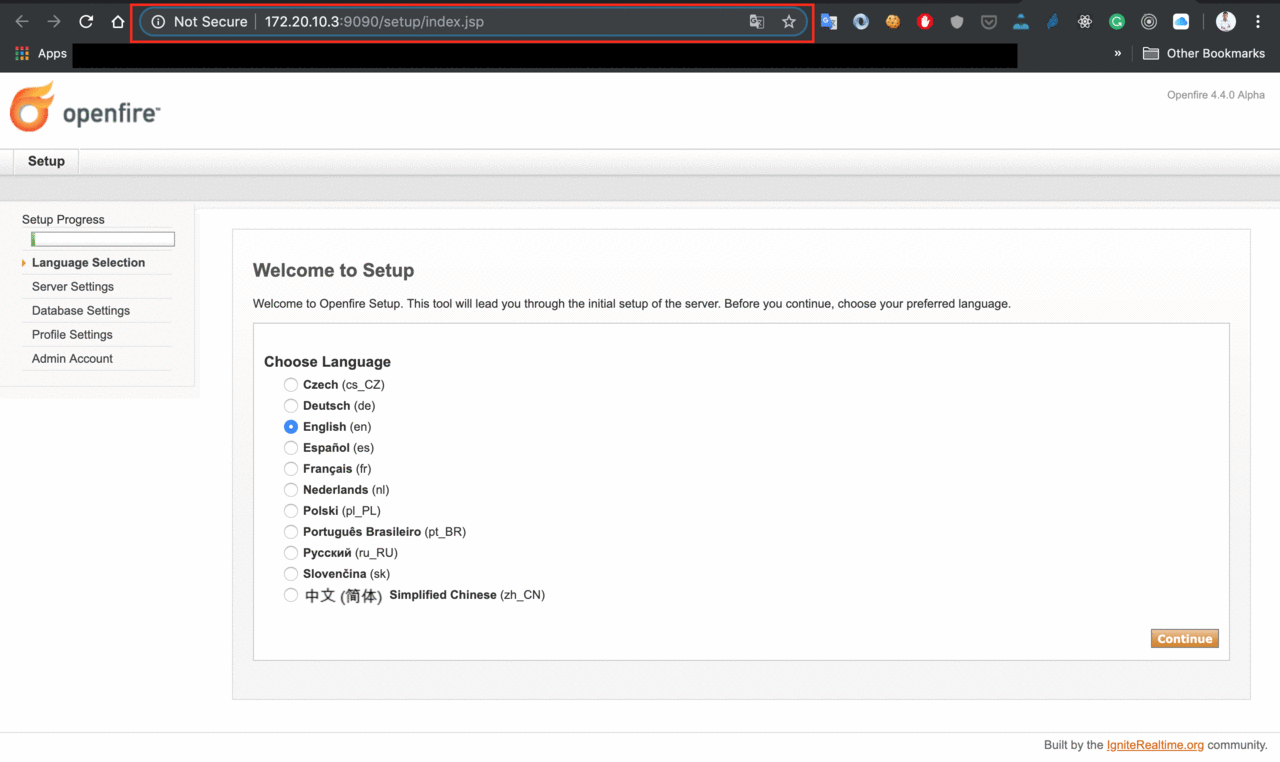
After running Openfire you can go to your server using the URL shown in console (or http://localhost:9090) and configure it.